项目地址:https://github.com/modelscope/ClearerVoice-Studio
按照项目文档进行部署:中途需要自己补充点操作,为了方便管理,我选择的是Conda环境下部署。
项目git clone到本地,终端,给环境代理。
git clone https://github.com/modelscope/ClearerVoice-Studio.git
cd ClearerVoice-Studio/clearvoice
按照文档git clone报错了,我直接下载代码解压到本地的。
mamba create -n ClearVoice python=3.10
mamba activate ClearVoice
创建一个py310的虚拟环境,接下来在虚拟环境下继续部署。
由于需要Cuda,于是第一件事先是安装Torch
pip install torch torchvision torchaudio --index-url https://download.pytorch.org/whl/cu126
import torch
print(torch.version.cuda)            # 输出当前 PyTorch 编译所用 CUDA 版本
print(torch.cuda.is_available())     # True 表示能正常调用 CUDA
print(torch.cuda.device_count())     # 机器上可见的 GPU 数量
安装支持CUDA的Torch,并且验证安装是否成功。确认安装成功后,进行文档内的部署。
pip install --editable .对git下来的内容进行部署,部署后发现代码中相对路径ClearerVoice-Studio\clearvoice目录下存在streamlit_app.py,判定阿里提供的演示地址需要streamlit,于是
mamba install streamlit安装完成后,
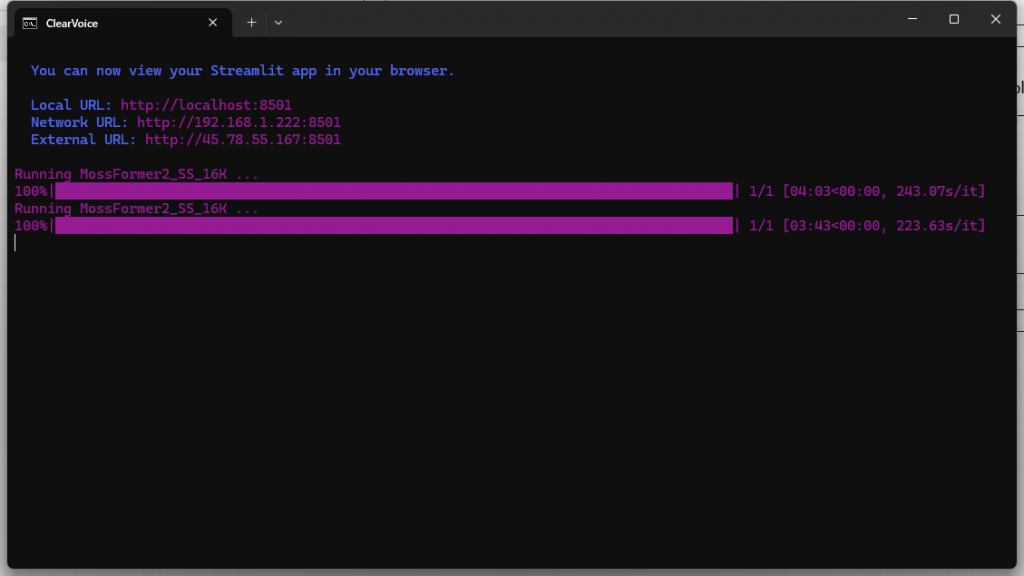
streamlit run streamlit_app.py程序已经可以正常跑起来了,到此为止部署其实就已经结束了。首次用到的模型需要科学环境自动从hf上拉取。
以下内容为进一步优化调试:
音频分割区域完成后页面知输出了一个完成路径。于是我对streamlit_app.py进行了修改,因为streamlit具备在线试听的能力。
                    # Display output directory
                    # st.text(output_dir) #源代码输出内容已被注释掉。
                    vocals_path = os.path.join(
                        output_dir,
                        f"{base_file_name}{file_name}_s1.wav"
                    )
                    accom_path = os.path.join(
                        output_dir,
                        f"{base_file_name}{file_name}_s2.wav"
                    )

                    st.markdown("#### 分离结果")
                    st.markdown("**(s1)**")
                    st.audio(vocals_path, format="audio/wav")

                    st.markdown("**(s2)**")
                    st.audio(accom_path, format="audio/wav")
此时生成的结果就可以试听了,我还优化了其他方面,比如终端上的提示,终端上会有一些警告信息,具体来说就是Streamlit的文件观察器对每个已导入模块的 __path__ 做自动重载扫描时,遇到了PyTorch的自定义类机制导致的错误。虽然不影响使用,但是会影响美观。
在C:\Users\用户名\.streamlit目录下新建一个,config.toml配置文件。
[server]
fileWatcherType = "none"
ST默认上传是200M,如果想放大这个值也可以在这里调整
# 最大上传文件限制,单位:MB
maxUploadSize = 4096 #4G
此时运行脚本还会有一个报错提示,RequestsDependencyWarning: Unable to find acceptable character detection dependency (chardet or charset_normalizer).简单说就是没有字符探测库。在补充一个字符探测库就可以了。
pip install chardet至此,脚本已经完美部署。